Not too long ago, I decided to jump back into hobby development. I had just upgraded my PC and it was an opportunity for a fresh start. I considered what type of projects I wanted to work on and what development environment I would focus on. I decided to focus development in Linux. I’ve dual booted Windows and Linux in the past but I wasn’t interested in doing that for a number of reasons. I also considered a dedicated VM running on Windows but again, for reasons, I didn’t find [that] to be an attractive option. My potential hobby projects include game and rendering development and therefore I was concerned about the relative performance of a VM. My research suggested WSL2 would be suitable.
And so, a journey into setting up and configuring WSL2 began… This post acts as a guide to reproducing the configuration in the future should I need it.
Highlights
There are few key highlights of my setup
- Use Chocolately package manager to install any Windows components such a Greenshot.
- Configuring Windows Terminal with a font and scheme.
- Most recently I chose GruvBoxMaterial as my theme and JetBrainsMono Nerd Font as my font. Patched fonts are required for plugins I use in Neovim.
- Paste is remapped to Control + Shift + V to avoid conflicts with Control+V is Vim/Neovim.
- ZSH with Oh My ZSH is the shell of choice.
- Various language servers are installed for use within Neovim.
- Configuring a development environment for Linux GUI applications.
Install WSL2
Review the full instructions for any changes from below.
Run the following commands in Powershell:
wsl --install
wsl --set-default-version 2
Install Chocolatey
Chocolately is popular package manager for Windows. It’s a convenient method for installing several applications in a fresh Windows install.
To install Chocolatey, run the following in Powershell (admin) to allow installation from an external script. A downloaded script should always be reviewed before execution. Unfortunately, this is how Chocolatey recommends installation.
Set-ExecutionPolicy AllSigned
Set-ExecutionPolicy Bypass -Scope Process -Force; [System.Net.ServicePointManager]::SecurityProtocol = [System.Net.ServicePointManager]::SecurityProtocol -bor 3072; iex ((New-Object System.Net.WebClient).DownloadString('https://community.chocolatey.org/install.ps1'))
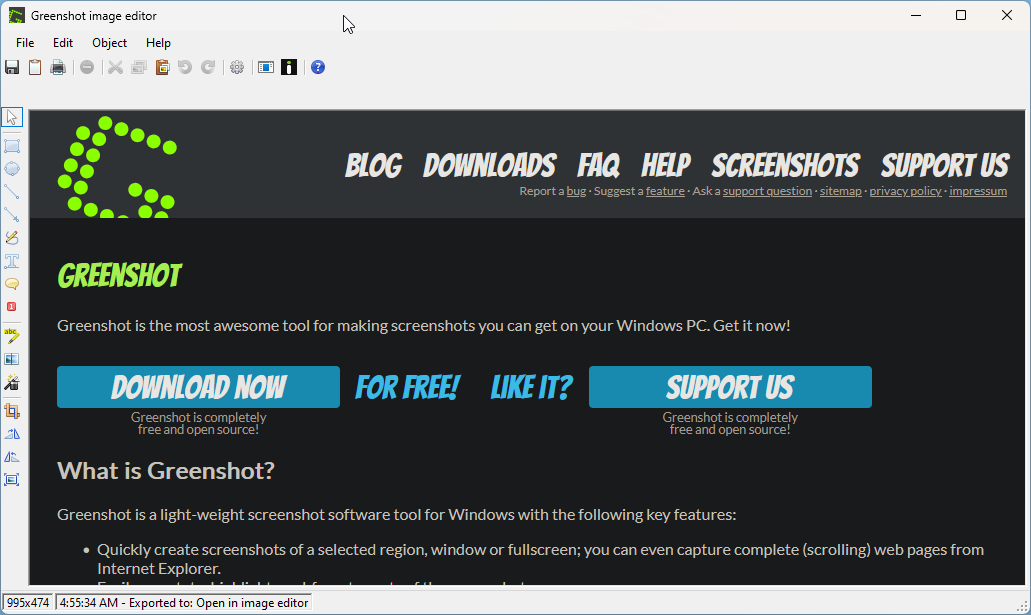
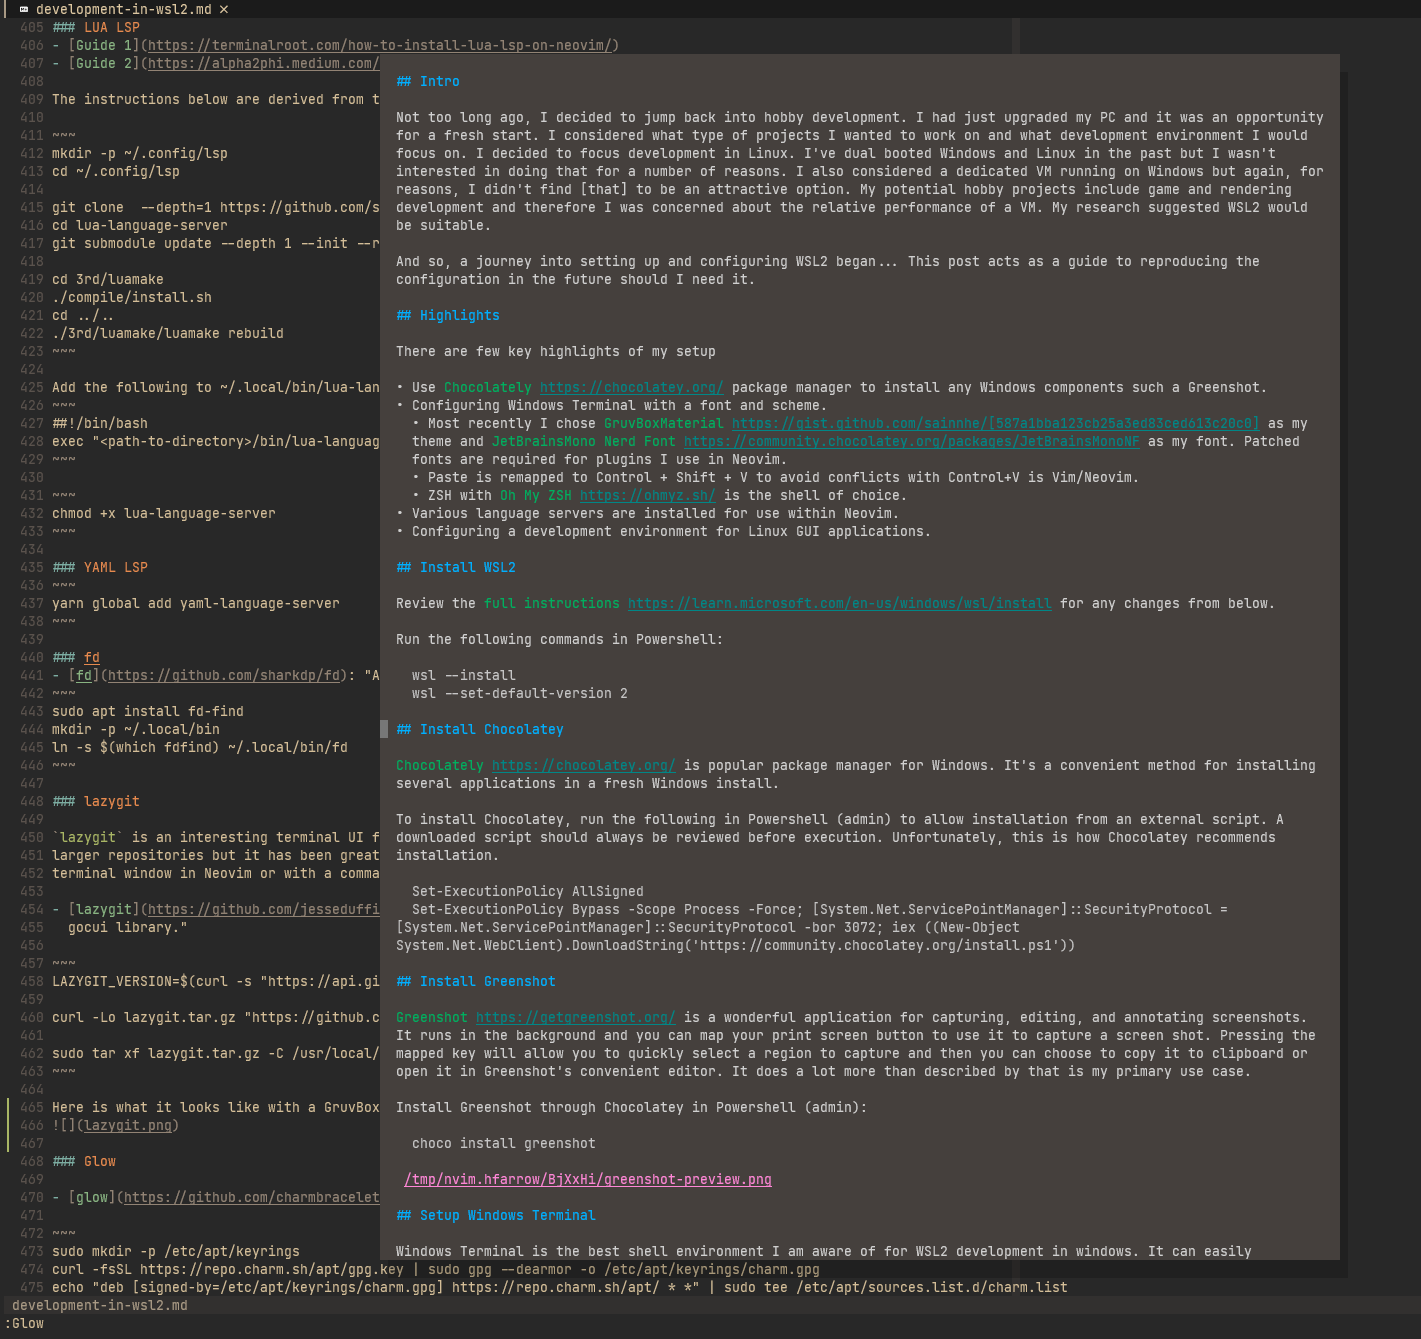
Greenshot
Greenshot is a wonderful application for capturing, editing, and annotating screenshots. It runs in the background and you can map your print screen button to use it to capture a screen shot. Pressing the mapped key will allow you to quickly select a region to capture and then you can choose to copy it to clipboard or open it in Greenshot’s convenient editor. It does a lot more than described by that is my primary use case.
Install Greenshot through Chocolatey in Powershell (admin):
choco install greenshot
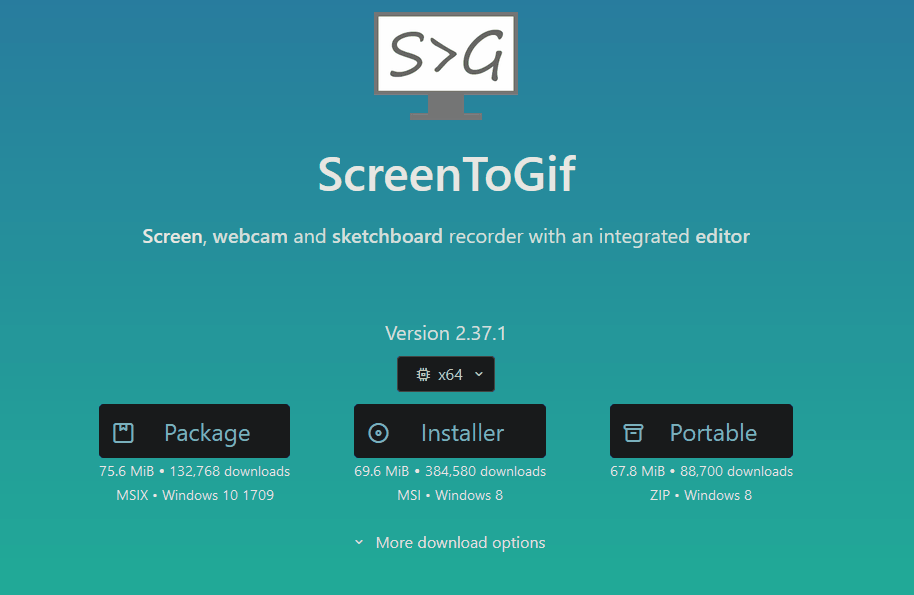
ScreenToGif
ScreenToGif is a handy way to quickly record a region of the screen to a .gif.
Install ScreenToGif through Chocolatey in Powershell (admin):
choco install ScreenToGif
The following animation was recorded and saved by ScreenToGif. The first static image shows the region to be recorded.

Setup Windows Terminal
Windows Terminal is the best shell environment I am aware of for WSL2 development in windows. It can easily configure and launch Powershell, Command Prompt, or your WSL2 Linux shell. Windows Terminal appears to have been pre-installed in Windows 11 or it was installed as part of the WSL2 installation.
Terminal Font
I decided to deviate from Inconsolata and give JetBrainsMono (Nerd Font) a try. Nerd Fonts are extended versions of many popular fonts that support ligatures and icons in Neovim. Go to the downloads section to find the mentioned fonts and many more.
Conveniently, many Nerd Fonts can be installed with Chocolately in Powershell (admin):
choco install jetbrainsmononf
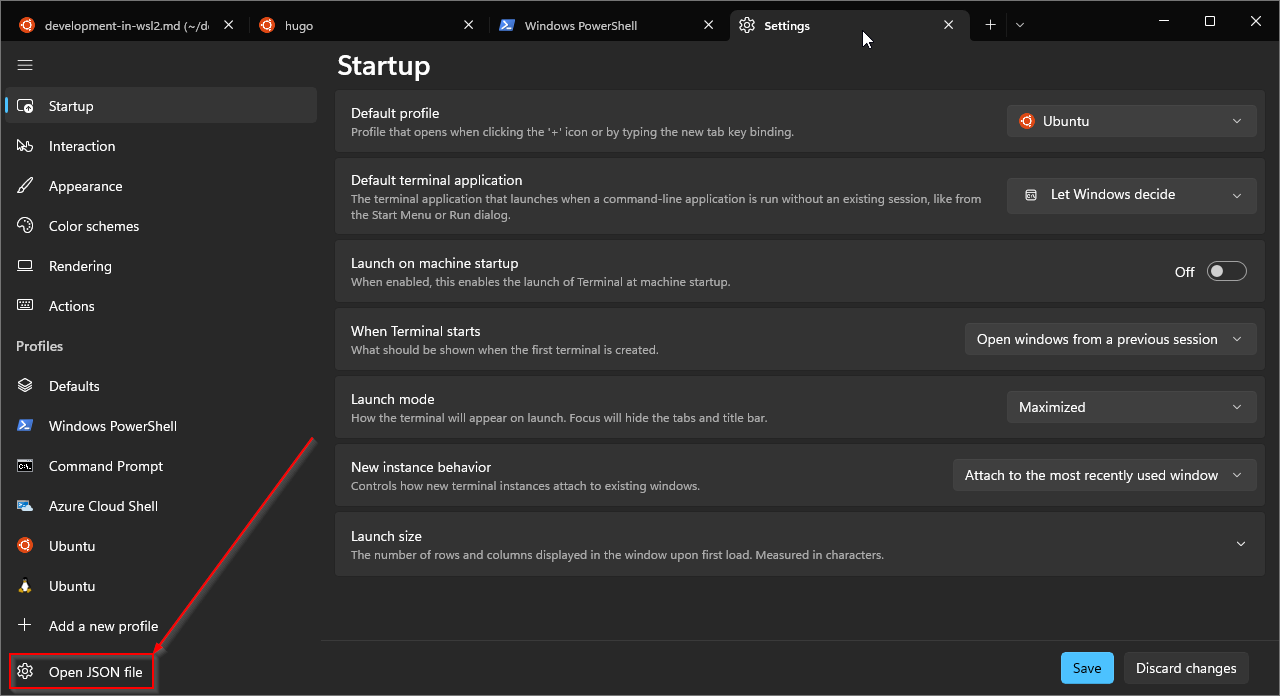
Terminal Configuration
Open the settings JSON file in a text editor to update profile settings and add various Gruvbox schemes. You can find
the JSON file by opening Windows Terminal settings and clicking a button to edit the file.
The GruvboxMaterial theme can be found here and other iterm2 themes for Terminal can be found here. Patched (Nerd Font) JetBrains Mono fonts can be found here.
Here is a quick look at the theme while editing this very text.

Profiles
    "profiles":
    {
        "defaults": {},
        "list":
        [
            {
                "colorScheme": "GruvboxMaterialMediumDark",
                "commandline": "%SystemRoot%\\System32\\WindowsPowerShell\\v1.0\\powershell.exe",
                "font":
                {
                    "face": "JetBrainsMono Nerd Font Mono",
                    "size": 10
                },
                "guid": "{61c54bbd-c2c6-5271-96e7-009a87ff44bf}",
                "hidden": false,
                "name": "Windows PowerShell"
            },
            {
                "colorScheme": "GruvboxMaterialMediumDark",
                "commandline": "%SystemRoot%\\System32\\cmd.exe",
                "font":
                {
                    "face": "JetBrainsMono Nerd Font Mono",
                    "size": 10
                },
                "guid": "{0caa0dad-35be-5f56-a8ff-afceeeaa6101}",
                "hidden": false,
                "name": "Command Prompt"
            },
            {
                "colorScheme": "GruvboxMaterialMediumDark",
                "font":
                {
                    "face": "JetBrainsMono Nerd Font Mono",
                    "size": 10
                },
                "guid": "{b453ae62-4e3d-5e58-b989-0a998ec441b8}",
                "hidden": true,
                "name": "Azure Cloud Shell",
                "source": "Windows.Terminal.Azure"
            },
            {
                "colorScheme": "GruvboxMaterialMediumDark",
                "font":
                {
                    "face": "JetBrainsMono Nerd Font Mono",
                    "size": 10
                },
                "guid": "{51855cb2-8cce-5362-8f54-464b92b32386}",
                "hidden": false,
                "name": "Ubuntu",
                "source": "CanonicalGroupLimited.Ubuntu_79rhkp1fndgsc",
                "startingDirectory": "//wsl$/Ubuntu/home/hfarrow"
            },
            {
                "guid": "{2c4de342-38b7-51cf-b940-2309a097f518}",
                "hidden": true,
                "name": "Ubuntu",
                "source": "Windows.Terminal.Wsl"
            }
        ]
    },
Theme - GruvboxMaterialMediumDark
I modified selectionBackground and cursorColor to be a shade of gray instead of white (#FFFFFF)
   "schemes":
    [
        {
            "background": "#282828",
            "black": "#665C54",
            "blue": "#7DAEA3",
            "brightBlack": "#928374",
            "brightBlue": "#7DAEA3",
            "brightCyan": "#89B482",
            "brightGreen": "#A9B665",
            "brightPurple": "#D3869B",
            "brightRed": "#EA6962",
            "brightWhite": "#D4BE98",
            "brightYellow": "#D8A657",
            "cursorColor": "#777777",
            "cyan": "#89B482",
            "foreground": "#D4BE98",
            "green": "#A9B665",
            "name": "GruvboxMaterialMediumDark",
            "purple": "#D3869B",
            "red": "#EA6962",
            "selectionBackground": "#777777",
            "white": "#D4BE98",
            "yellow": "#D8A657"
        },
    ]
Paste Shortcut
Rebind paste to control + shift + v
        {
            "command": "paste",
            "keys": "ctrl+shift+v"
        },
Install Git
Install git via package manager.
sudo apt update && sudo apt install git
Add an SSH key. Don’t forget to add it to GitHub or wherever else.
ssh-keygen -t rsa -b 4096 -C "your_email@example.com"
Zsh Shell
I chose Zsh as a shell after it became the default shell in MacOS which I use at work. While looking for modern and useful shell features and CLI utilities, I discovered Oh My ZSH which is a framework for managing your Zsh configuration.
Oh My Zsh is a delightful, open source, community-driven framework for managing your Zsh configuration. It comes bundled with thousands of helpful functions, helpers, plugins, themes, and a few things that make you shout… “Oh My ZSH!”
Install Zsh
Install Zsh using a package manager.
sudo apt install zsh
Change the default shell to Zsh
chsh -s $(which zsh)
Install Oh My ZSH
See the official installation instructions in case they have changed. Always review any downloaded script before executing it.
sh -c "$(curl -fsSL https://raw.githubusercontent.com/ohmyzsh/ohmyzsh/master/tools/install.sh)"
Configure ZSH
Clone and link custom configs
My Zsh dot files can be found on GitHub. Clone the repo and link files to the expected locations.
git clone git@github.com:hfarrow/dotbash.git ~/.config/dotbash
cd ~
ln -s .config/dotbash/.zshrc .zshrc
ln -s .config/dotbash/.zprofile .zprofile
Here are the builtin plugins I decided to use initially.
plugins=(git aliases ag colored-man-pages common-aliases python ripgrep extract thefuck)
plugins=(zsh-autosuggestions zsh-syntax-highlighting )
Install Additional ZSH Plugins
Here are the additional plugins I decided to install.
git clone https://github.com/zsh-users/zsh-autosuggestions ${ZSH_CUSTOM:-~/.oh-my-zsh/custom}/plugins/zsh-autosuggestions
git clone https://github.com/zsh-users/zsh-syntax-highlighting.git ${ZSH_CUSTOM:-~/.oh-my-zsh/custom}/plugins/zsh-syntax-highlighting
git clone https://github.com/zsh-users/zsh-completions ${ZSH_CUSTOM:-~/.oh-my-zsh/custom}/plugins/zsh-completions
git clone --depth=1 https://github.com/romkatv/powerlevel10k.git ${ZSH_CUSTOM:-~/.oh-my-zsh/custom}/themes/powerlevel10k
Restart the shell after installing or configuring plugins.
Configure Theme

The Oh My Zsh theme I chose to use is powerlevel10k and is configured in
.zshrc with the following sections.
ZSH_THEME="powerlevel10k/powerlevel10k"
# Enable Powerlevel10k instant prompt. Should stay close to the top of ~/.zshrc.
# Initialization code that may require console input (password prompts, [y/n]
# confirmations, etc.) must go above this block; everything else may go below.
if [[ -r "${XDG_CACHE_HOME:-$HOME/.cache}/p10k-instant-prompt-${(%):-%n}.zsh" ]]; then
  source "${XDG_CACHE_HOME:-$HOME/.cache}/p10k-instant-prompt-${(%):-%n}.zsh"
fi
Visual Studio Code Setup
Visual Studio Code’s remote development feature makes it a strong contender as an IDE for projects living within the WSL2 environment. I don’t have immediate plans to use it because I’m keen to give my Neovim config a chance as an IDE first. Install it with Powershell (admin):
choco install vscode
You will need to install the WSL plugin and read about how to use it.
Packages
One-liner
Here are several tools or dependencies I like to start with.
sudo apt install bat git-extras git-lfs glances ripgrep tldr tree gcc \
  g++ clang ninja-build sqlite3 libsqlite3-dev lld zip unzip
- bat: “A cat(1) clone with syntax highlighting and Git integration.”
- glances: “Glances is a cross-platform system monitoring tool written in Python.”
- ripgrep: “ripgrep is a line-oriented search tool that recursively searches the current directory for a regex pattern”
- tldr: “Simplified and community-driven man pages”
- tree: “list contents of directories in a tree-like format”
broot
The azlux.fr repository contains broot.
- broot: “A better way to navigate directories”
echo "deb [signed-by=/usr/share/keyrings/azlux-archive-keyring.gpg] \
  http://packages.azlux.fr/debian/ stable main" | \
  sudo tee /etc/apt/sources.list.d/azlux.list

sudo wget -O /usr/share/keyrings/azlux-archive-keyring.gpg  https://azlux.fr/repo.gpg
sudo apt-get update && sudo apt install broot
NPM + Yarn
Additional package managers are required by other software such as some Neovim plugins.
curl -o- https://raw.githubusercontent.com/nvm-sh/nvm/v0.39.2/install.sh | bash
nvm install node
# "node" is an alias for the latest version
npm install --global yarn
C#
Install dotnet and the associated development environment.
wget https://packages.microsoft.com/config/ubuntu/22.04/packages-microsoft-prod.deb -O packages-microsoft-prod.deb
sudo dpkg -i packages-microsoft-prod.deb
rm packages-microsoft-prod.deb

sudo apt-get update && sudo apt-get install -y dotnet-sdk-7.0
sudo apt-get update && sudo apt-get install -y aspnetcore-runtime-7.0
Install Omnisharp language server.
curl --verbose --location --remote-name \
  https://github.com/OmniSharp/omnisharp-roslyn/releases/download/v1.39.3/omnisharp-linux-x64.tar.gz

mkdir -p ~/.local/omnisharp
mv omnisharp-linux-x64.tar.gz ~/.local/omnisharp
cd ~/.local/omnisharp
tar -xvf omnisharp-linux-x64.tar.gz
Rust
curl https://sh.rustup.rs -sSf | sh
rustup component add rust-src
rustup component add rust-analyzer
ln -s $(rustup which --toolchain stable rust-analyzer)
Bash LSP
npm i -g bash-language-server
LUA LSP
The instructions below are derived from the guides above.
mkdir -p ~/.config/lsp
cd ~/.config/lsp

git clone  --depth=1 https://github.com/sumneko/lua-language-server
cd lua-language-server
git submodule update --depth 1 --init --recursive

cd 3rd/luamake
./compile/install.sh
cd ../..
./3rd/luamake/luamake rebuild
Add the following to ~/.local/bin/lua-language-server and make it executable
##!/bin/bash
exec "<path-to-directory>/bin/lua-language-server" "$@"
chmod +x lua-language-server
YAML LSP
yarn global add yaml-language-server
fd
- fd: “A simple, fast and user-friendly alternative to ‘find’”
sudo apt install fd-find
mkdir -p ~/.local/bin
ln -s $(which fdfind) ~/.local/bin/fd
lazygit
lazygit is an interesting terminal UI for performing typical git functions. I’ve had some problem with it hanging on
larger repositories but it has been great so far for smaller repositories. I like to launch it inside a floating
terminal window in Neovim or with a command line alias lg.
- lazygit: “A simple terminal UI for git commands, written in Go with the gocui library.”
LAZYGIT_VERSION=$(curl -s "https://api.github.com/repos/jesseduffield/lazygit/releases/latest" | grep '"tag_name":' |  sed -E 's/.*"v*([^"]+)".*/\1/')

curl -Lo lazygit.tar.gz "https://github.com/jesseduffield/lazygit/releases/latest/download/lazygit_${LAZYGIT_VERSION}_Linux_x86_64.tar.gz"

sudo tar xf lazygit.tar.gz -C /usr/local/bin lazygit
Here is what it looks like with a GruvBoxMaterial theme.
Glow
- glow: “Render markdown on the CLI, with pizzazz!”
sudo mkdir -p /etc/apt/keyrings
curl -fsSL https://repo.charm.sh/apt/gpg.key | sudo gpg --dearmor -o /etc/apt/keyrings/charm.gpg
echo "deb [signed-by=/etc/apt/keyrings/charm.gpg] https://repo.charm.sh/apt/ * *" | sudo tee /etc/apt/sources.list.d/charm.list
sudo apt update && sudo apt install glow
Here is Glow previewing this post from Neovim inside floating window.
Neovim
TODO: Write a post dedicated to my Neovim configs and demonstrate some of the key plugin functionalities.
sudo add-apt-repository ppa:neovim-ppa/stable
sudo apt-get update
sudo apt-get install neovim=0.7.2-3~bpo22.04.1~ppa1
Here are some helpful resources for writing your configs in Lua instead of VimL
- https://github.com/nanotee/nvim-lua-guide
- https://vonheikemen.github.io/devlog/tools/build-your-first-lua-config-for-neovim/
- https://vonheikemen.github.io/devlog/tools/configuring-neovim-using-lua/
Docker
I don’t currently user Docker for anything but I installed it to experiment with.
In Powershell Admin:
choco install docker-desktop
Run Docker Desktop from the start menu
heath.farrow.dev Blogging
Hugo Install
cd ~/.local/bin
curl -s https://api.github.com/repos/gohugoio/hugo/releases/latest \
 | grep  browser_download_url \
 | grep Linux-64bit.tar.gz \
 | grep -v extended \
 | cut -d '"' -f 4 \
 | wget -i -
 tar -xf <name_of_tar.gz>
Linux GUI Applications
One of the projects I’d like to work on will include a native Linux application window. I could build the application with Windows as the target but I thought it would be interesting try running a Linux application window through WSL2.
There are two windowing systems available. X11 and Wayland. Wayland is a modern alternative to X11. To quote their website…
Wayland is a replacement for the X11 window system protocol and architecture with the aim to be easier to develop, extend, and maintain.
Wayland is the language (protocol) that applications can use to talk to a display server in order to make themselves visible and get input from the user (a person). A Wayland server is called a “compositor”. Applications are Wayland clients.
Install Support for Linux GUI Apps
Install some initial dependencies:
sudo apt-get install g++ pkg-config libx11-dev libasound2-dev libudev-dev
Install Wayland libs:
sudo apt-get install libwayland-dev libxkbcommon-dev
WSLg
WSL2 comes with WSLg enabled by default. WSLg allows you to run graphical Linux applications. It runs an extended version of the Wayland Weston project reference compositor.
PulseAudio
There is a lot of outdated and confusing information about PulseAudio out there. You will find many guides describing how to get audio working in WSL2. However, at least in Windows 11, PulseAudio is part of WSLg and it should just work. As of writing this section, I have not tested audio so I may have to come back an update this section.
Troubleshooting
Slow DNS lookup while Windows is connected to VPN
When installing packages or using commands like curl or ping you may notice they take a long time to begin
responding. This can be worked around manually by running wsl --shutdown and connecting to VPN before starting WSL
again.
This answer and surrounding comments have some other potential solutions, including disabling IPv6.
manpath: can’t set the locale; make sure $LC_* and $LANG are correct
sudo locale-gen "en_US.UTF-8"
sudo dpkg-reconfigure locales